这篇文章主要给大家介绍了利用CSS3伪元素实现逐渐发光的方格边框的相关资料,文中给出了详细的示例代码供大家参考学习,对大家具有一定的参考学习价值,需要的朋友们下面来一起看看吧。
本文介绍的是一个使用伪元素来实现边框逐渐发光的代码,主要用到scale和opacity这两个属性。下面来看看详细的介绍:
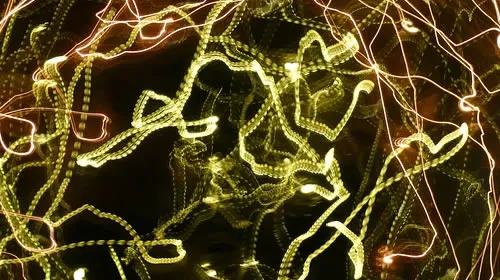
效果图如下:

HTML代码:
前端开发博客
关注前端开发

CSS代码:
.light{ background: #fff; width: 180px; height: 180px; margin: 100px auto; position: relative; text-align: center; color: #333; transform:translate3d(0,0,0); } .light-inner{ padding: 60px 30px 0; pointer-events: none; position: absolute; left: 0; top: 0; bottom: 0; right: 0; text-align: center; transition: background 0.35s; backface-visibility: hidden; } .light-inner:before, .light-inner:after{ display: block; content: ""; position: absolute; left: 30px; top: 30px; right: 30px; bottom: 30px; border: 1px solid #fff; opacity: 0; transition: opacity 0.35s, transform 0.35s; } .light-inner:before{ border-left: 0; border-right: 0; transform:scaleX(0,1); } .light-inner:after{ border-top: 0; border-bottom: 0; transform: scaleY(1,0); } .light:hover .light-inner{ background: #458fd2 } .light:hover .light-inner:before, .light:hover .light-inner:after{ opacity: 1; transform: scale3d(1,1,1); } .light-inner p{ transition: opacity .35s, transform 0.35s; transform: translate3d(0,20px,0); color: #fff; opacity: 0; line-height: 30px; } .light:hover .light-inner p{ transform: translate3d(0,0,0); opacity: 1; }实现步骤:
发光的方格,主要是通过.light-inner的伪元素:before和:after来实现
上下的边框是从中间往两边逐渐展开:scaleX(0)到scaleX(1)
左右的边框是从中间往上下两边展开:scaleY(0)到scaleY(1)
形成了一个四方形从中间向边角逐渐发光的效果:opacity:0到opacity:1。
其它就没什么技巧了。
scale介绍
scale(
scaleX(
scaleY(
总结
以上就是这篇文章的全部内容了,希望本文的内容对大家的学习或者工作能带来一定的帮助,如果有疑问大家可以留言交流,谢谢大家对易知道|edz.cc的支持。
以上就是利用CSS3伪元素实现逐渐发光的方格边框的详细内容,更多请关注易知道|edz.cc其它相关文章!